30 Years of Manufacturing Experience      •      Charlotte, NC Office      •      Lifetime Warranties

Contact Us
980.580.0930
configurator

Canopy Tent Instructions

Easy-to-follow instructions for easy-to-assemble tents.

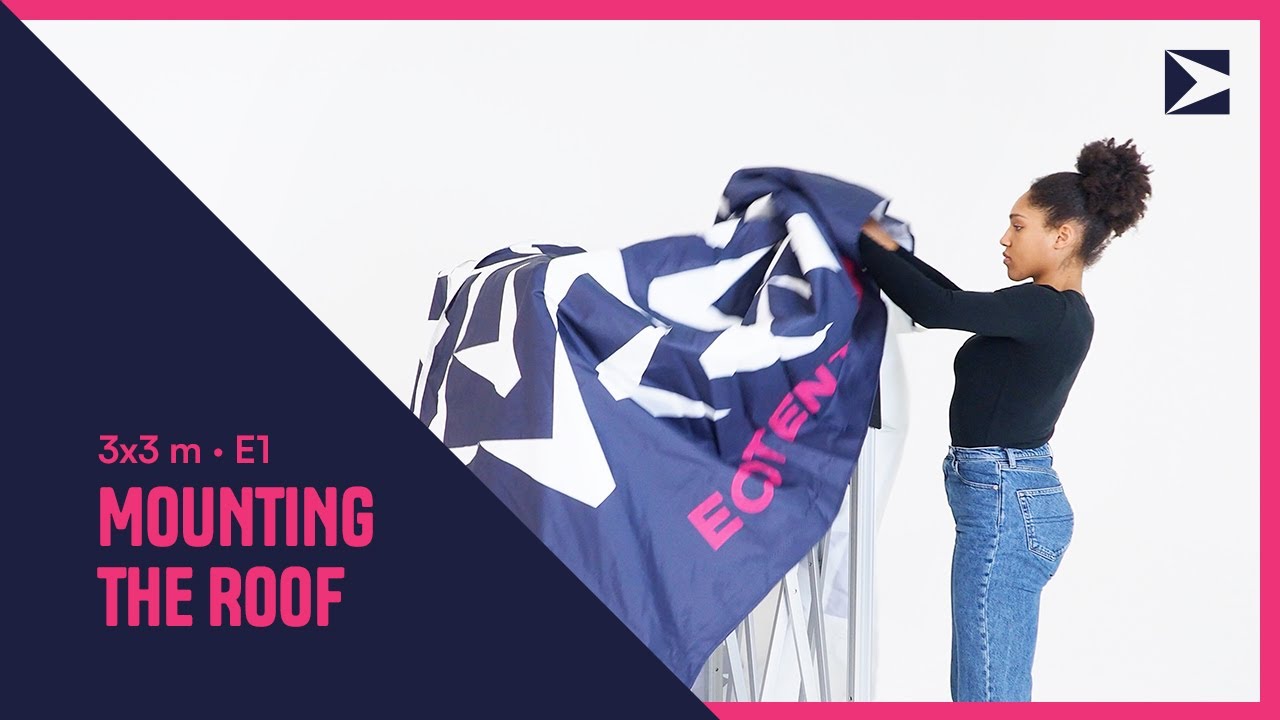
Fasten, click and unfold
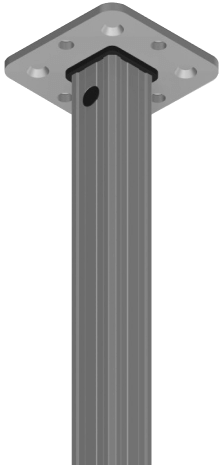
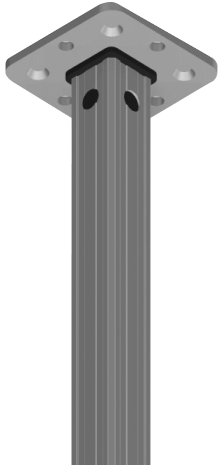
NO TOOL ASSEMBLY

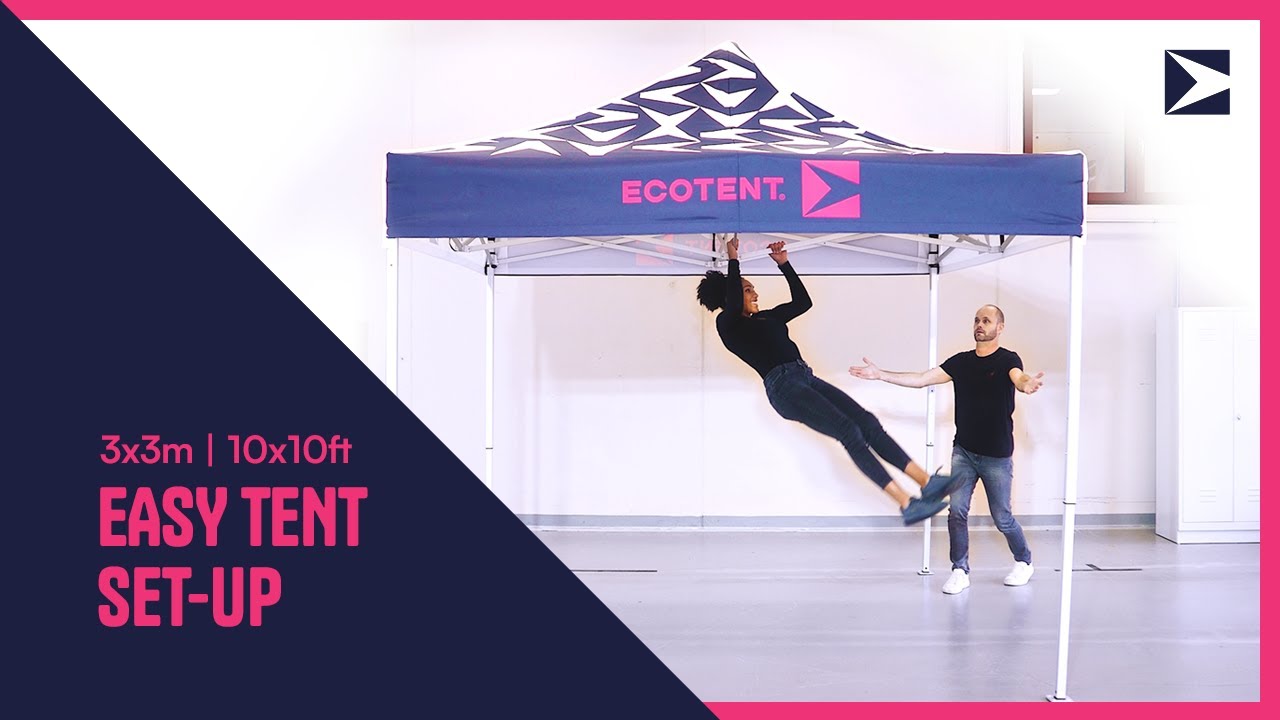
While the easiest way to open an Ecotent is with two or more people, any Ecotent can be set up with one person. Follow these simple step-by-step instructions or watch our instructional video for assembly in as little as 60 seconds.

*Your first-time may take longer due to roof assembly after delivery post-delivery  

Thousands of Satisfied Customers Thousands of Satisfied Customers
Video Gallery Video Gallery
Quick Assembly Quick Assembly
Tool-Free Set-Up Tool-Free Set-Up
Step-By-Step, needed for first use
Mounting Your Canopy Tent Roof

With your tent standing upright, extend the frame by about 1/3rd. To do this, grip the tent trusses in the middle of the frame. The trusses will meet in the center and angle upward in a ‘V’ shape. Hold on either side of the ‘V’ and lift upward while pulling back to extend the frame.


In the case of rectangular tents, extend the tent by lifting from the shorter side (Ex: the 10ft sides of a 10x15ft tent). We recommend not to pull the canopy tent legs to extend the tent.  

While still folded, place the tent’s fabric roof in the center of the aluminum frame. Carefully unfold and match the center of the fabric to the center of the frame.

Raise the central peak – or mast - of the tent structure by lifting it upwards. This is located in the center of the tent frame.


Secure the roof to the frame by crossing the elastic loops attached to the center of the roof and hooking them over and around the slots on the protective cover of the tent mast. 

Push the peak downwards, bringing it back to its original position with the roof now attached.

With the roof unfolded, prepared to lay out across the frame, align the roof’s interior circular fabric reinforcements at each corner and along the sides of the tent. These reinforcements offer added protection where the frame and the roof come into contact. 


Once aligned, secure the roof by wrapping and attaching the Velcro straps inside each corner of the roof around the upper part of the tent leg. 

To secure the side panels, or valances, of the tent roof, wrap the Velcro straps, located on each side of the roof interior, under the connecting elements between the tent trusses.


Bring the tensioning Velcro back up and close securely.

Open the structure completely by gripping upward and outward from the middle of the trusses or close your tent back up to use later. 

Youtube video thumbnail
STEP-BY-STEP, with tent roof already installed
How to set up the canopy tent

Open the transport bag by unhooking the clasp at the base and pulling the strap out from underneath the tent.


Pull open the Velcro closure running up the side of the tent, and slide the bag off the tent.

Extend the frame completely by pulling upward and outward on the central tent trusses, not the legs. The trusses will meet in the center and angle upward in a ‘V’ shape. Hold on either side of the ‘V’ and lift upward while pulling back to extend the frame. In the case of rectangular tents, extend the tent by lifting from the shorter side (Ex: the 10ft sides of a 10x15ft tent).


Lifting from the trusses rather than pulling on the legs will use the tent’s accordion folding design to your benefit, reducing the weight you need to lift and automatically extending the tent.

Once your tent is mostly opened, we’ll lock the upper framework into place at each of the tent corners.


Use your foot to hold the bottom base of the tent left – or the footplate – to the ground. Hold underneath the truss extending from the corner tent leg and lift upward until the spring-loaded pin locks into the tent leg. For more leverage, push down on the exterior corner of the tent frame while lifting the truss upward. You will hear a click when the frame corner is locked into place.


Repeat this step for all 4 corners. The roof mast will rise as you lock the upper framework into place. 


Your tent will now be fully set up, but at its lowest height setting.

Wrap the Velcro straps, located on each side of the roof, under and through the frame connecting elements before lifting back up to loop back onto the Velcro on the tent roof.
It is easier to do this step before extending the tent legs to their full height while the Velcro is in easy reach.


Tightening these Velcro fasteners will keep the tent’s roof valances tight, preventing creasing and allowing custom graphics to look their best.

Lift the upper part of the tent leg upward and press the spring-loaded button to release the bottom of the tent leg.


The inner leg is now free to extend out. Push the tent leg down with your foot resting on the footplate until the spring button snaps into the desired leg notch height. Repeat this for all 4 legs.

No matter how heavy-duty a canopy tent is, it must be secured to the ground for proper wind safety.


Secure your tent with your choice of Ecotent ground anchors or our cast iron base weights depending on your use and ground conditions.

Youtube video thumbnail
Step-By-Step
How to close the canopy tent

One leg at a time, release the spring-loaded pin locks. Push on the leg’s release button and slide the lower leg back into the upper leg frame. We recommend lifting the upper leg up to release pressure while lifting the lower leg up with your foot. This will shorten the legs for easier transport and storage.


Pepeat for all 4 tent legs.

Release the Velcro tensioning straps located on each side of the roof interior.


Fold the straps back on themselves for neat storage.

Lift each corner slightly from underneath the truss while pressing the red button at the top of each leg. This unlocks the upper framework from each tent leg so the tent is free to collapse back down and fold away.

Part 1: Walk your tent closed by lifting the tent slightly from the central trusses and pushing inward. The tent will naturally begin to fold back in on itself as you push from one or two sides.


Part 2: Open the tent transport bag and slide it over the top of the tent starting with the roof. Close the bag using the Velcro strap and belt. To avoid damage from excess moisture, do not close the tent unless it is completely dry.


arrow
tents, tent accessories, and kits.

Additional Instructions

Video Tutorials
 
 
Your country. Your language.
You are browsing on www.ecotent.us. Do you want to switch to www.ecotent.us?
United StatesSwitch to www.ecotent.us